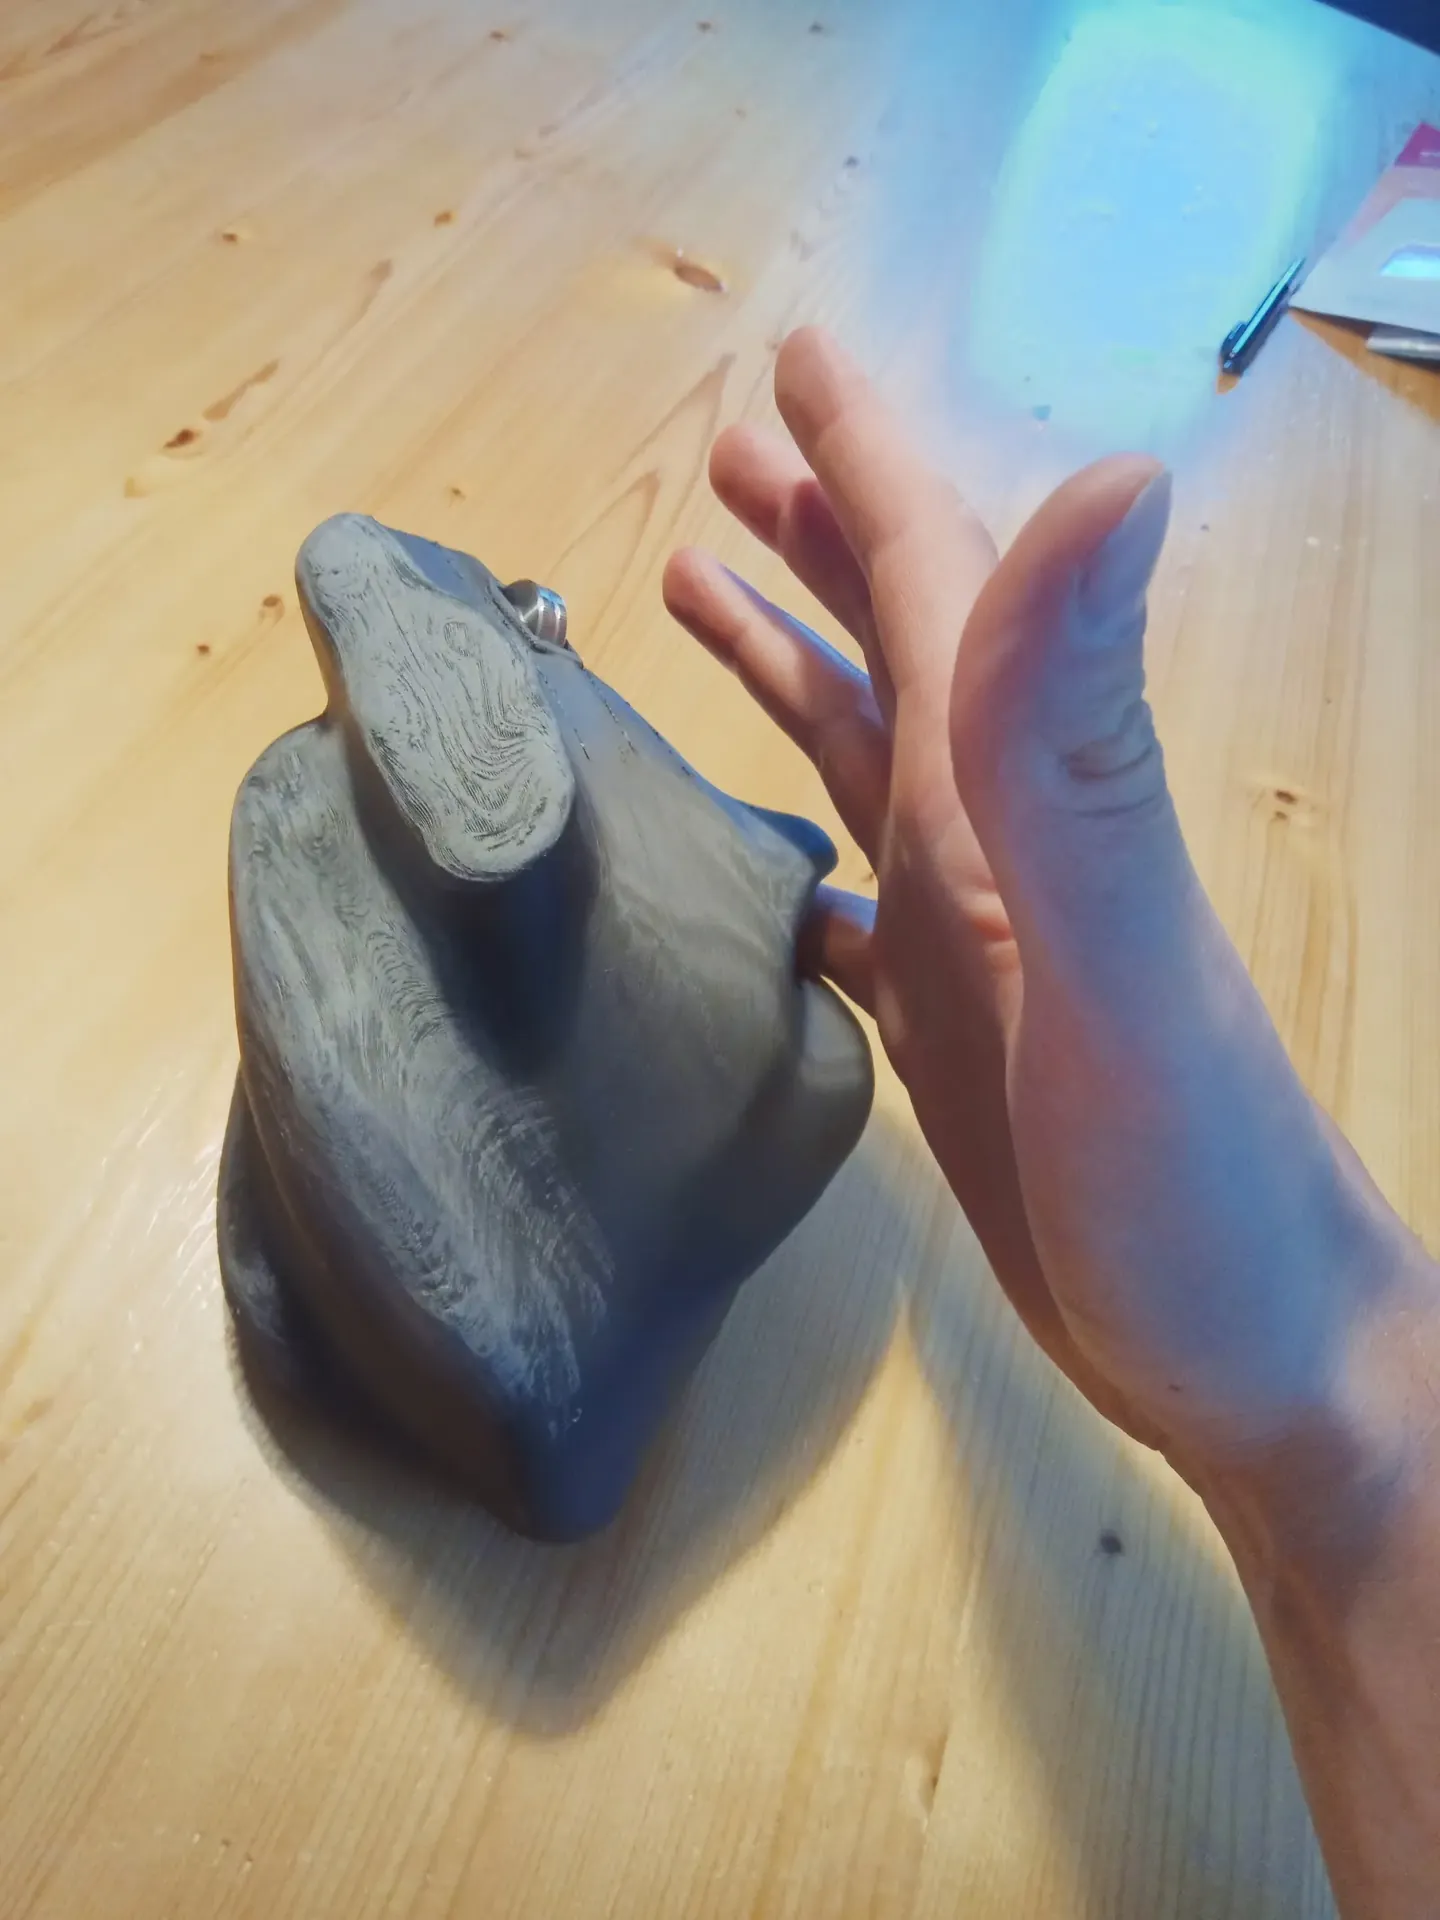
I'm creating a tailor made mouse shell that fits my hand perfectly. In case other people are interested in buying a mouse tailored to their hand, I might turn this into a service.
The idea here is to create a model that feels nice to use. Nicer than your mass produced off the shelf mouse. I'm not exactly a potter so I had to learn this as I went.
I felt drawing this directly in 3D software would not be the most efficient as it would be hard to tell what sculpting actions would result in "the right feel".
Lessons learned:
Clay shrinks and cracks as it dries. What you created is not what you get after the drying process.
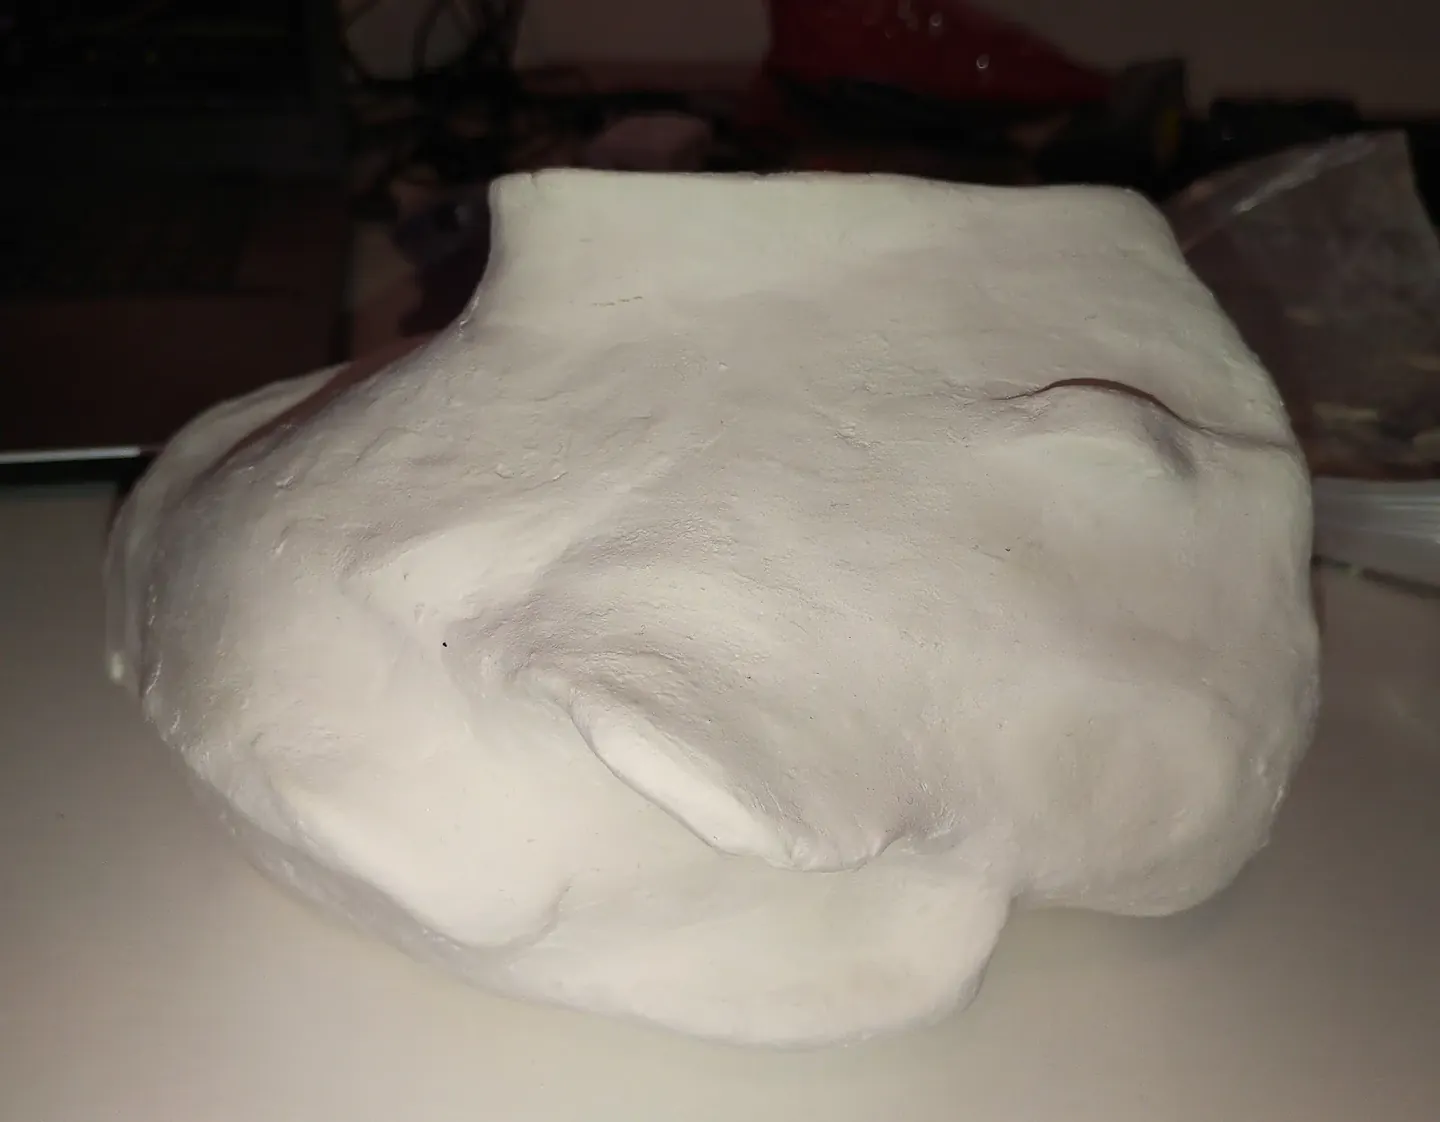
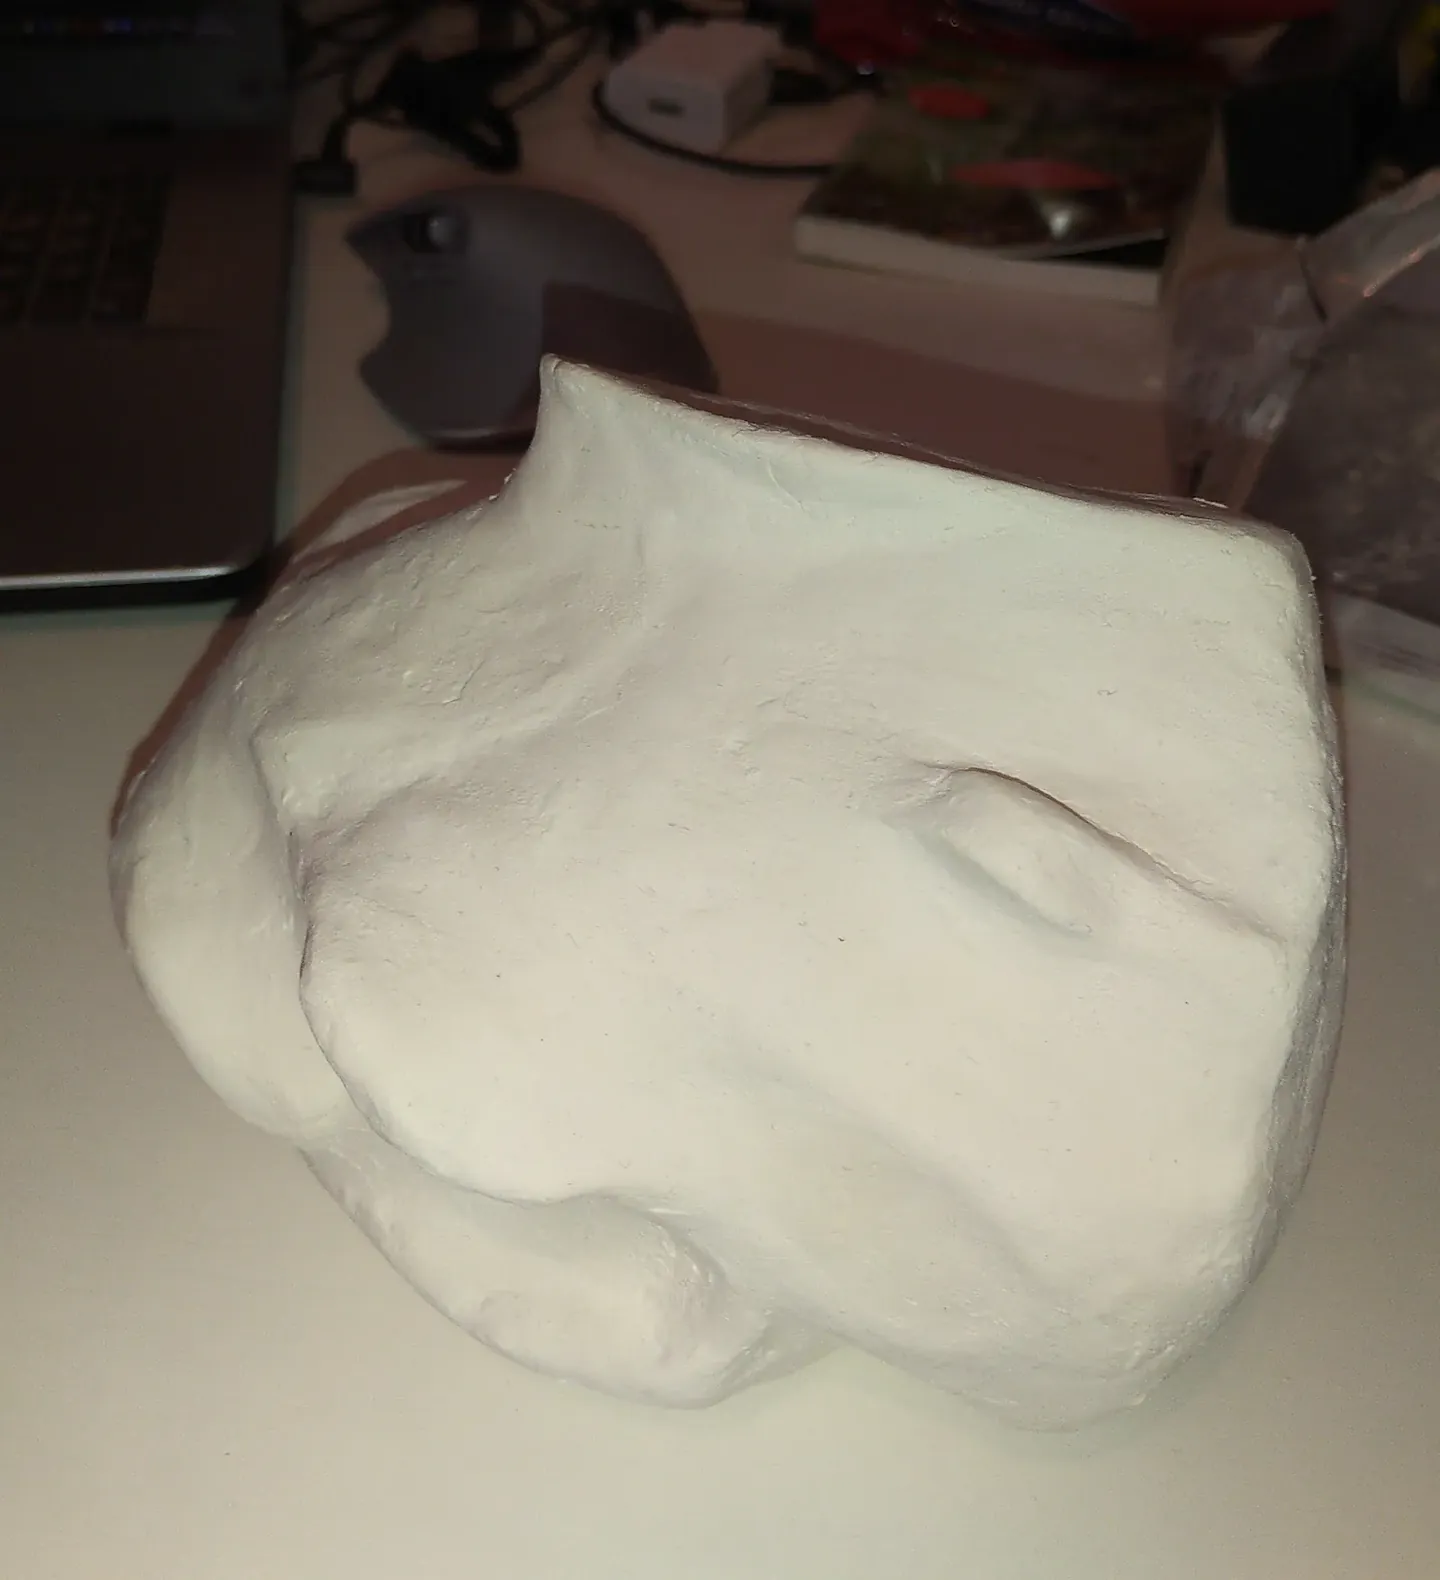
Type of clay matters. Heavy "regular" clay is nice as a very rough and strong basis to stick your nicer "paper clay" onto. Paper clay cracks much less as it dries.
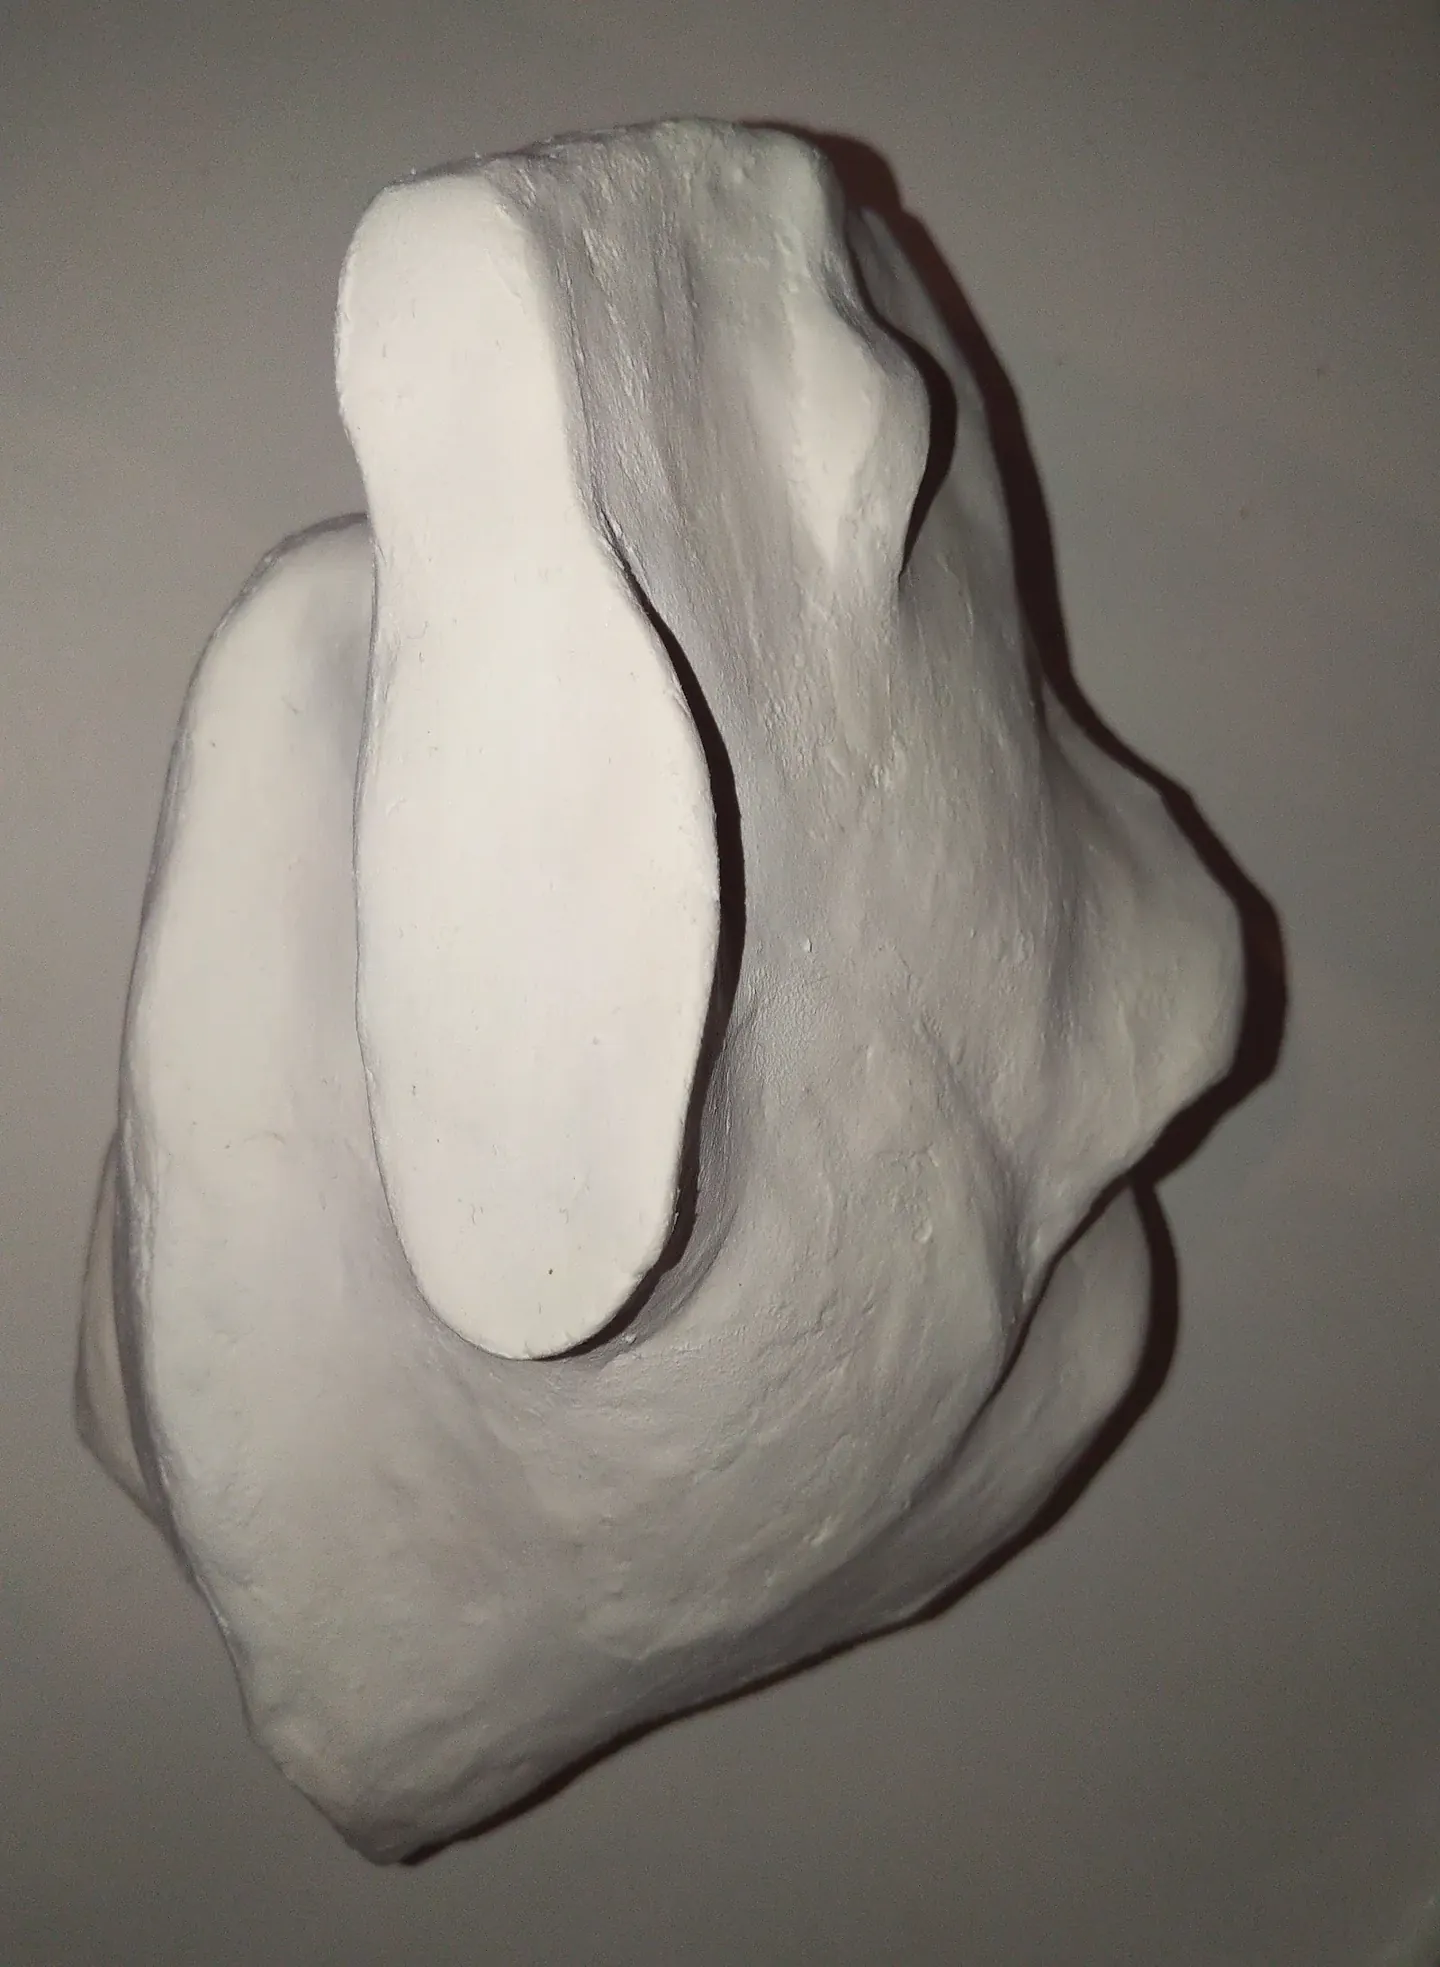
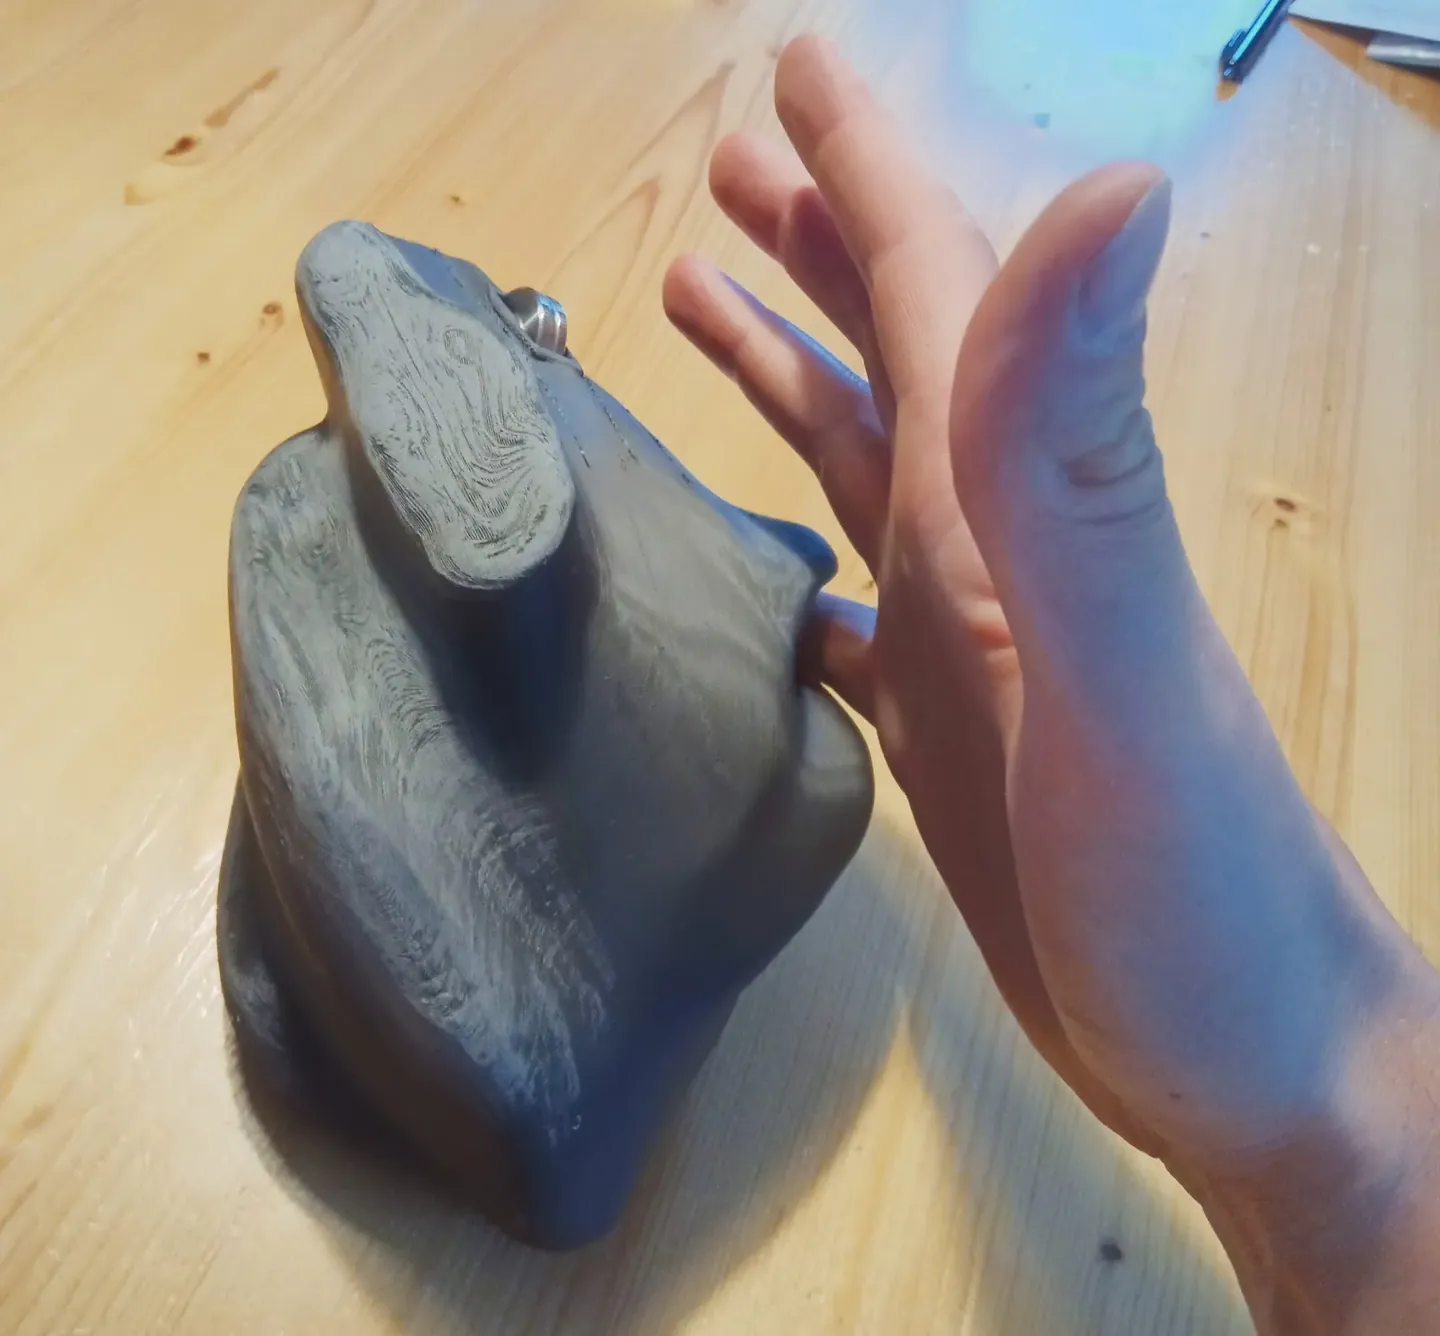
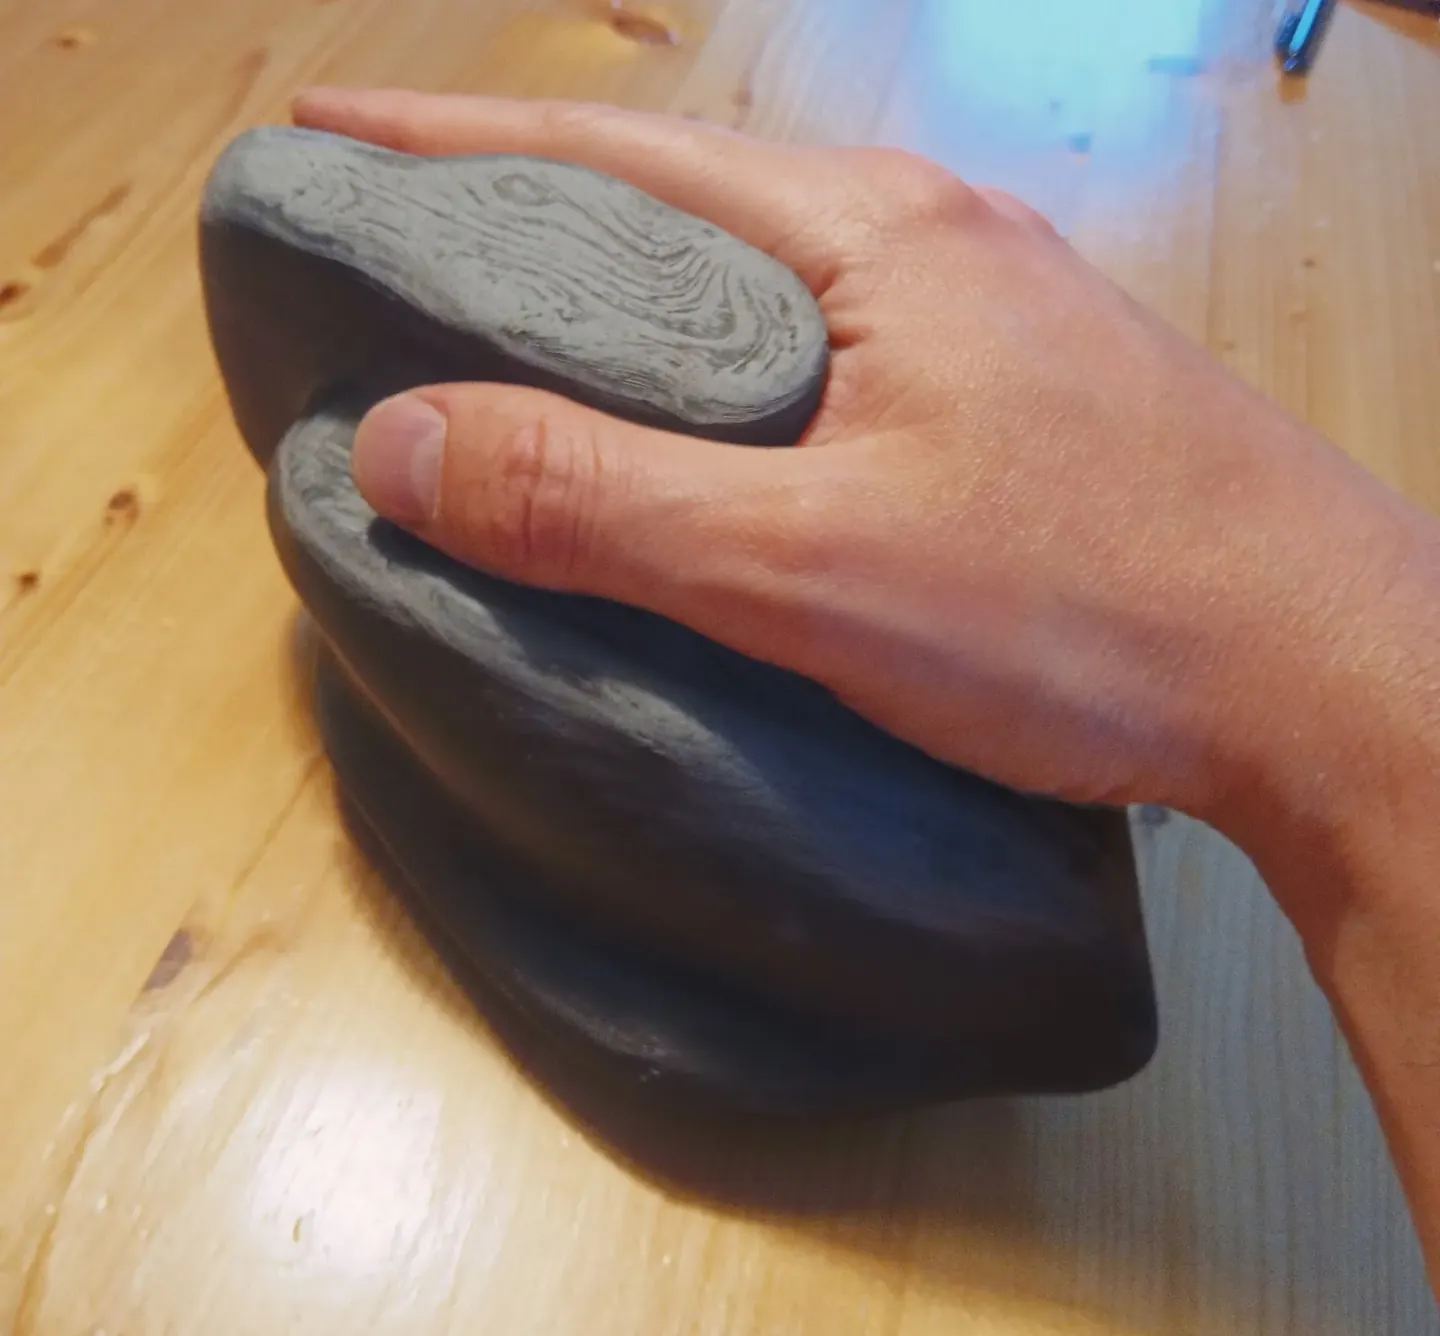
The dried paper clay model.
From the front, and from above: the thumb rest on the left, the scoop for the palm on the right.
Step 23D scanning and modelling
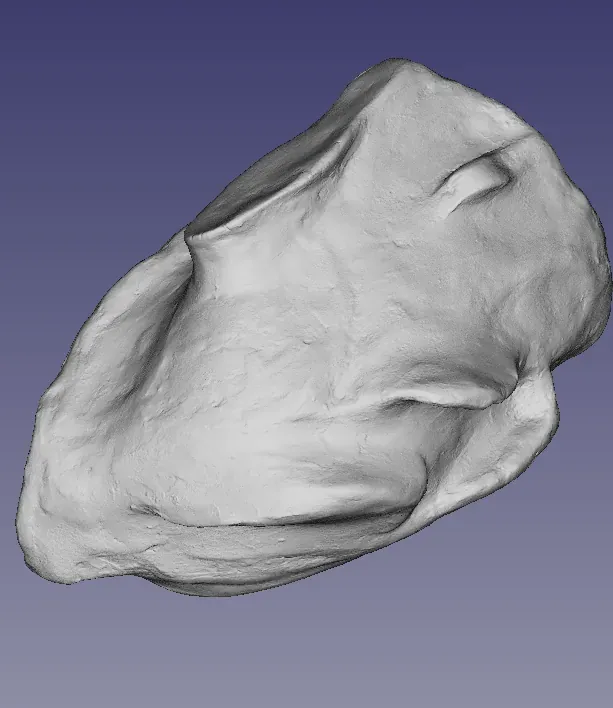
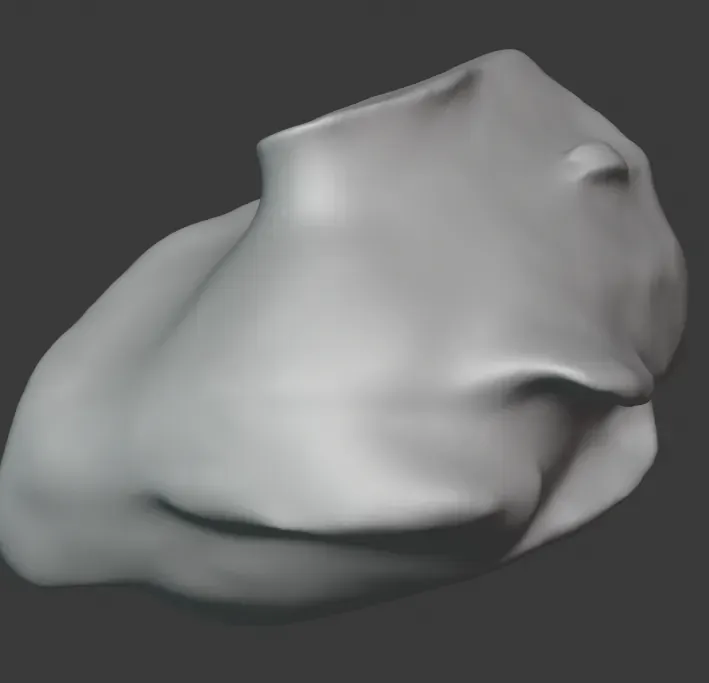
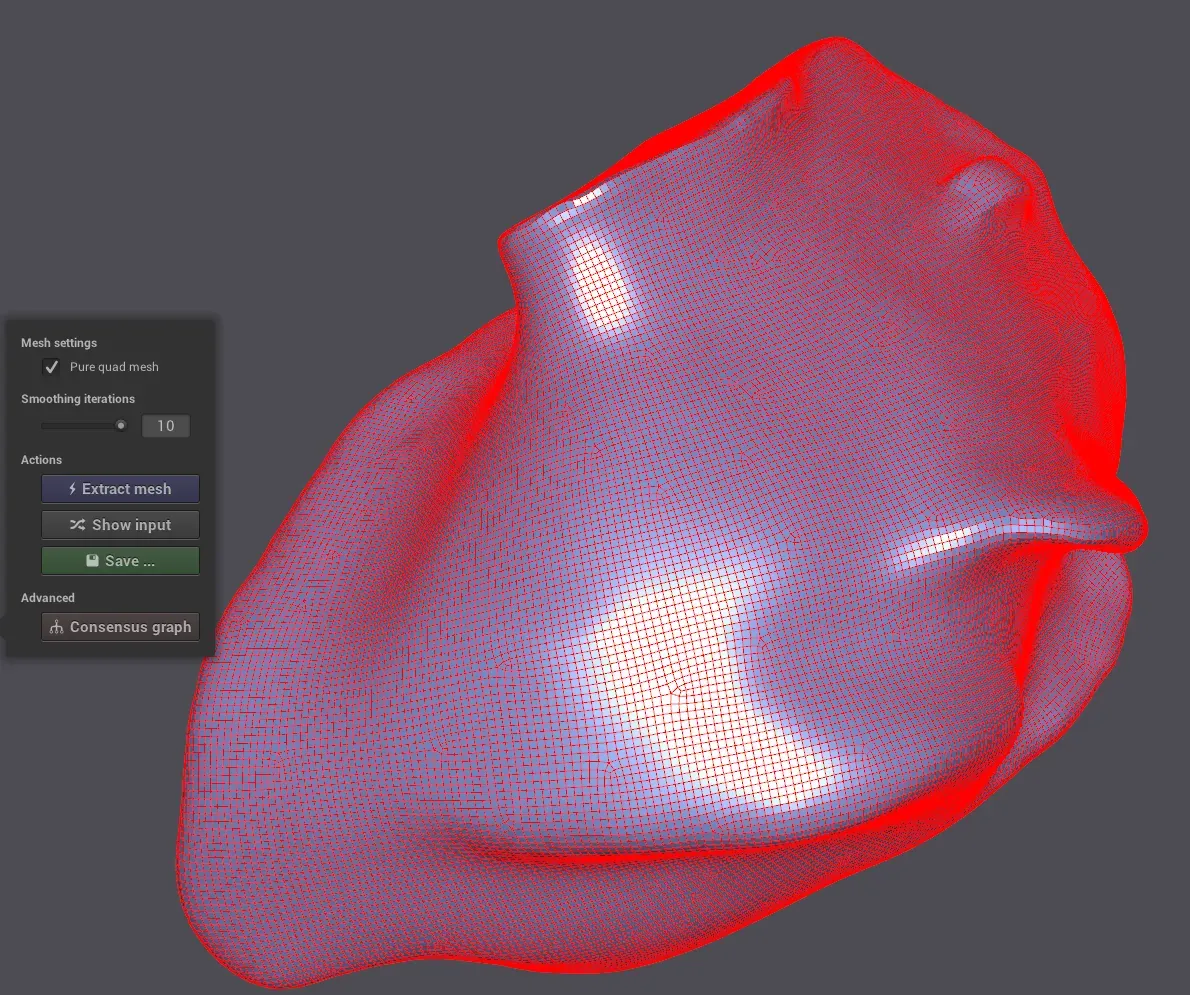
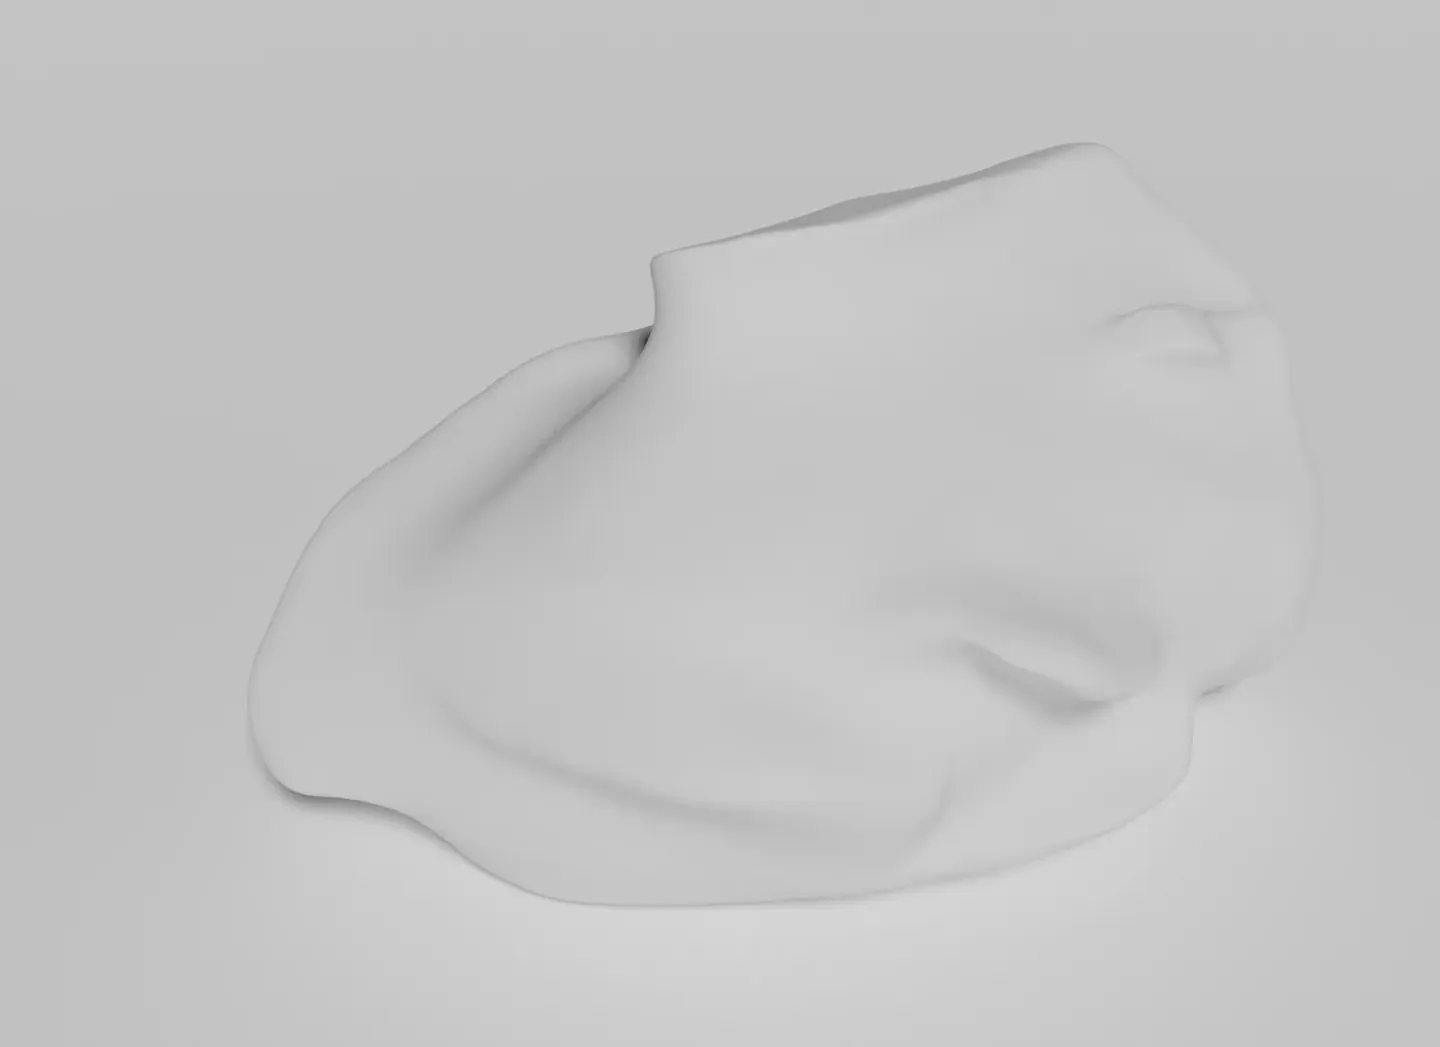
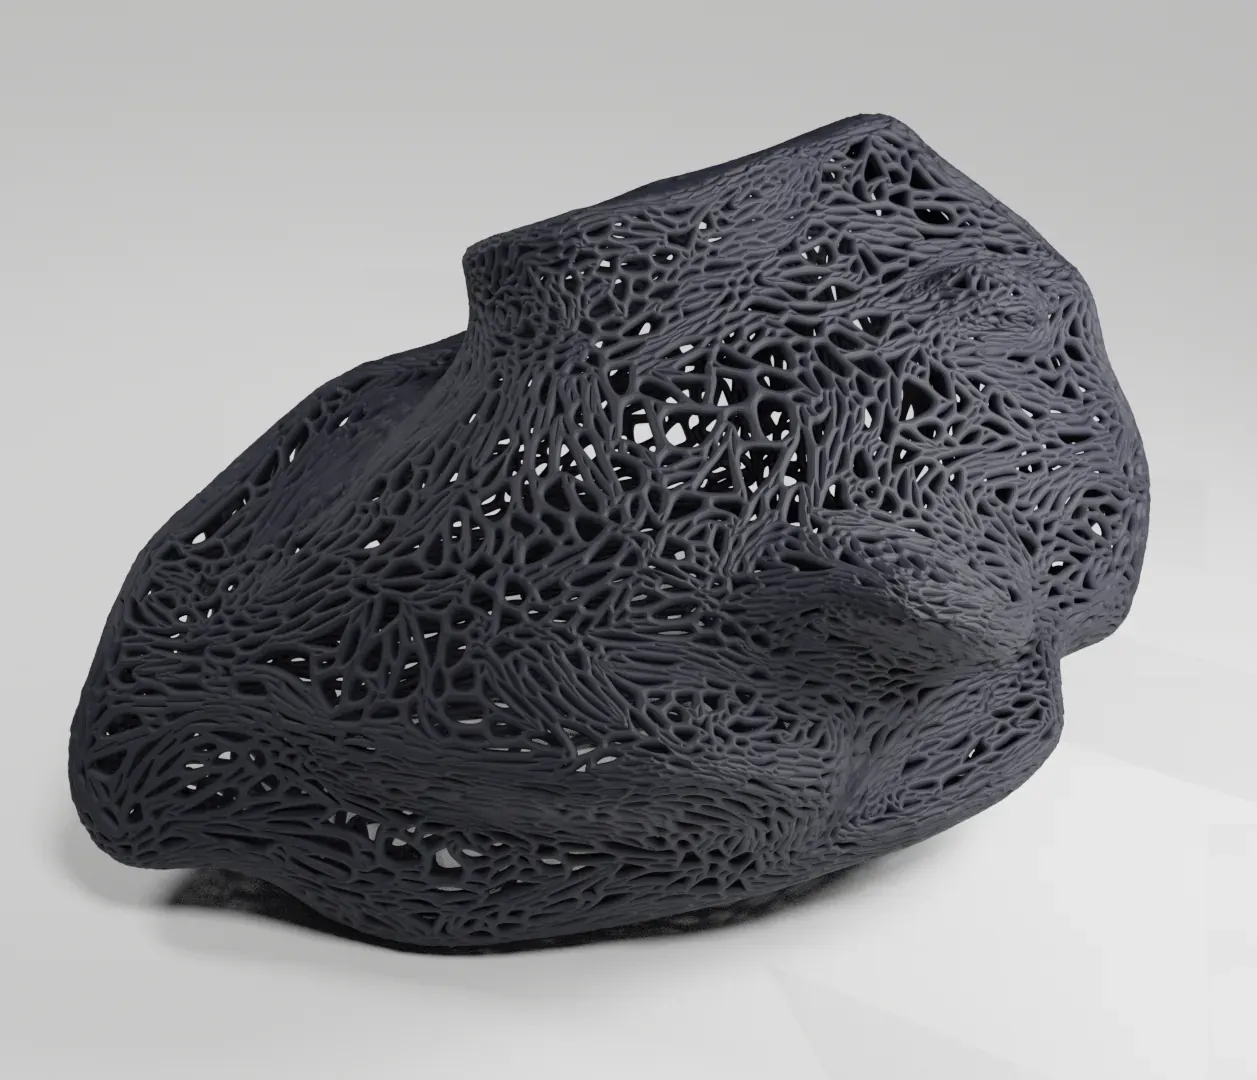
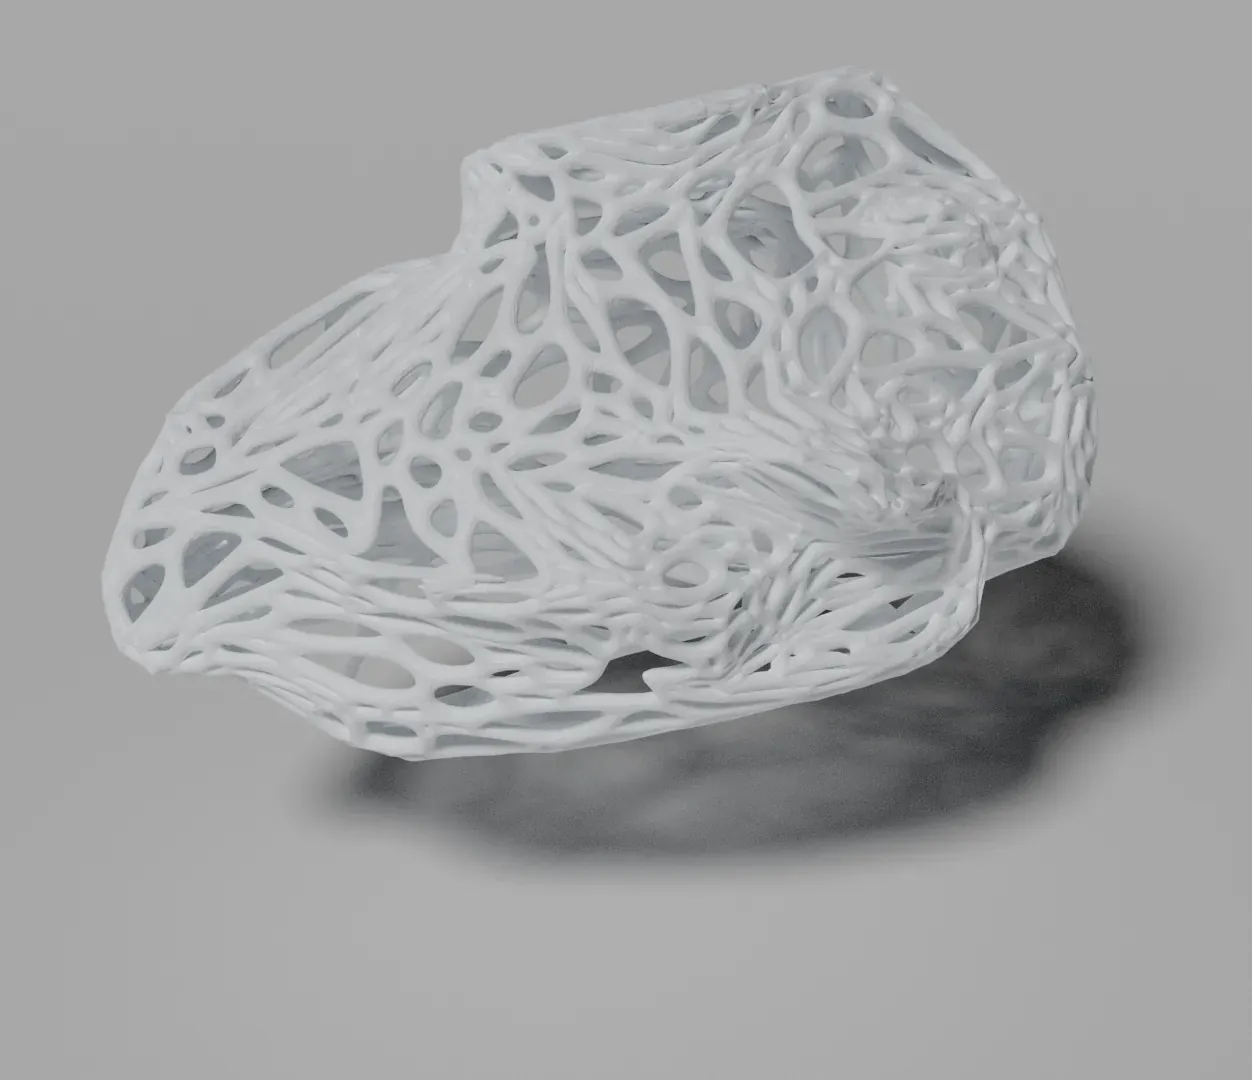
The shape was digitized and digitally sculpted further. After some experiments with crazy wire frame shapes, I decided I liked the plain and simple closed shell the most.
The raw 3D scan after converting the point cloud to mesh.The 3D scan after digital smoothing in Blender.
Converting the Blender mesh to "quads" using the software Instant Meshes.A render of the mouse after smoothing, made in Blender.
One of the experiments into 3D printable organic looking shapes.Another one with a more coarse exoskeleton.
Step 3Mechanical CAD work
After the artsy bit comes the practical stuff: where do the screws and circuit boards go?
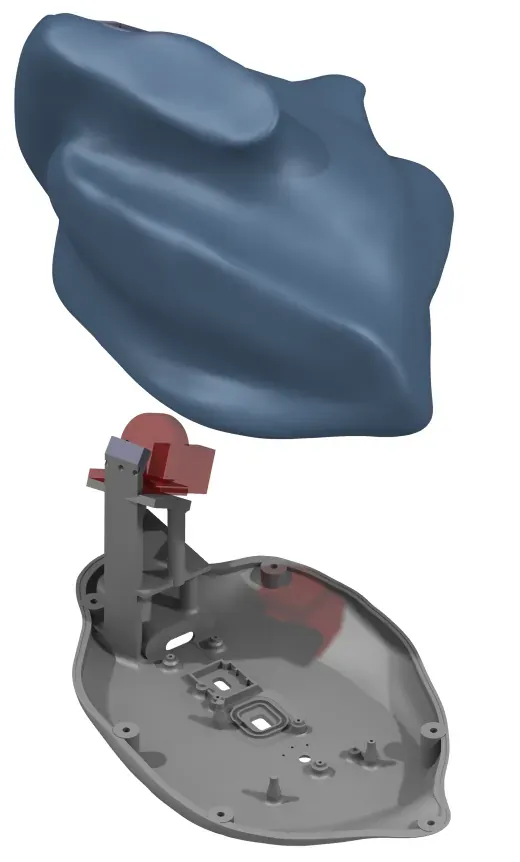
3D modelling is generally done using two different types of tools, simply put: surface modelling (for sculpting and artists) and solid modelling (for engineers). Here I switched from surface to solid modelling, so that I could use the model in mechanical CAD software. This CAD software makes it easier to work with real world dimensions and to add circuit boards, screw holes, switches and all that stuff in the right places.
For the insides (electronics) I wanted to use an existing Logitech MX Master S3. The design of this mass produced mouse is perfect, except: it's one size fits none. So let's fix that!
A rendering of the mechanical CAD ready for 3D printing.
Step 43D printing and assembly
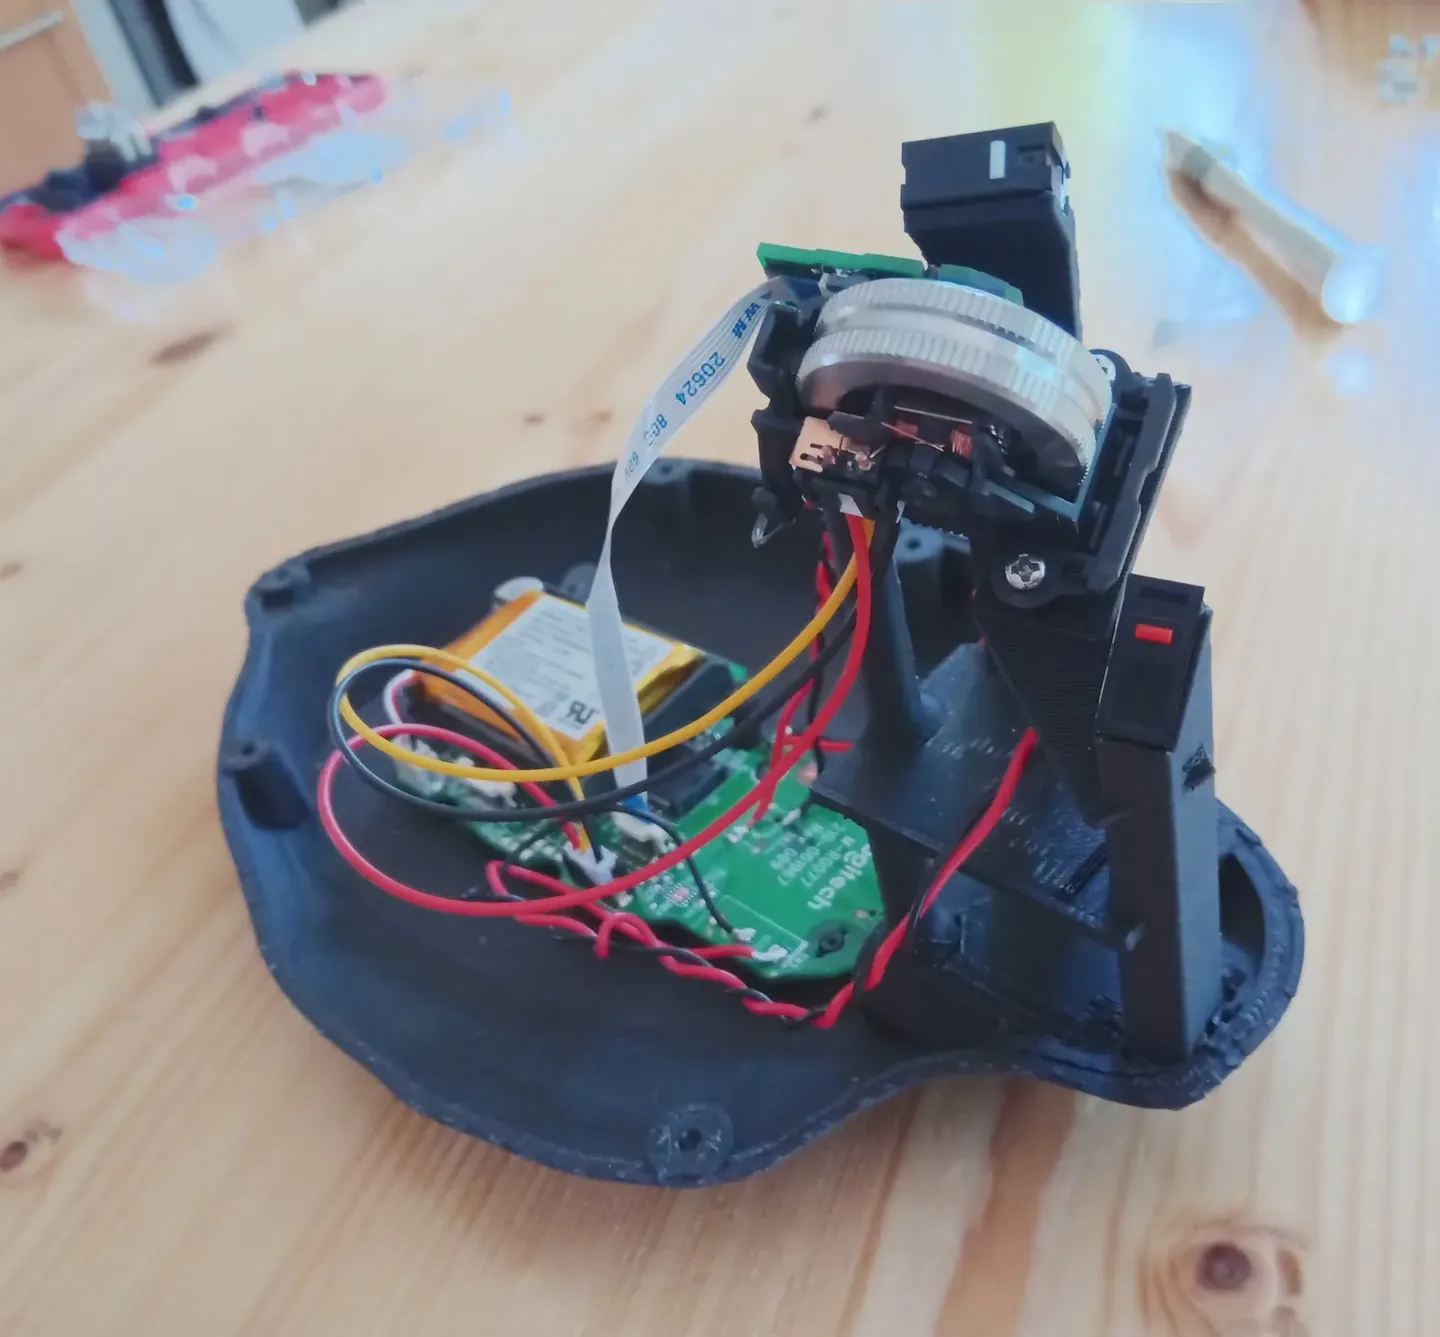
It took me two 3D printing iterations to get everything to fit together in an acceptable way. I was able to make everything fit with some longer cables, a bit of duct tape and some soldering.
Here's the end result:
The insides.
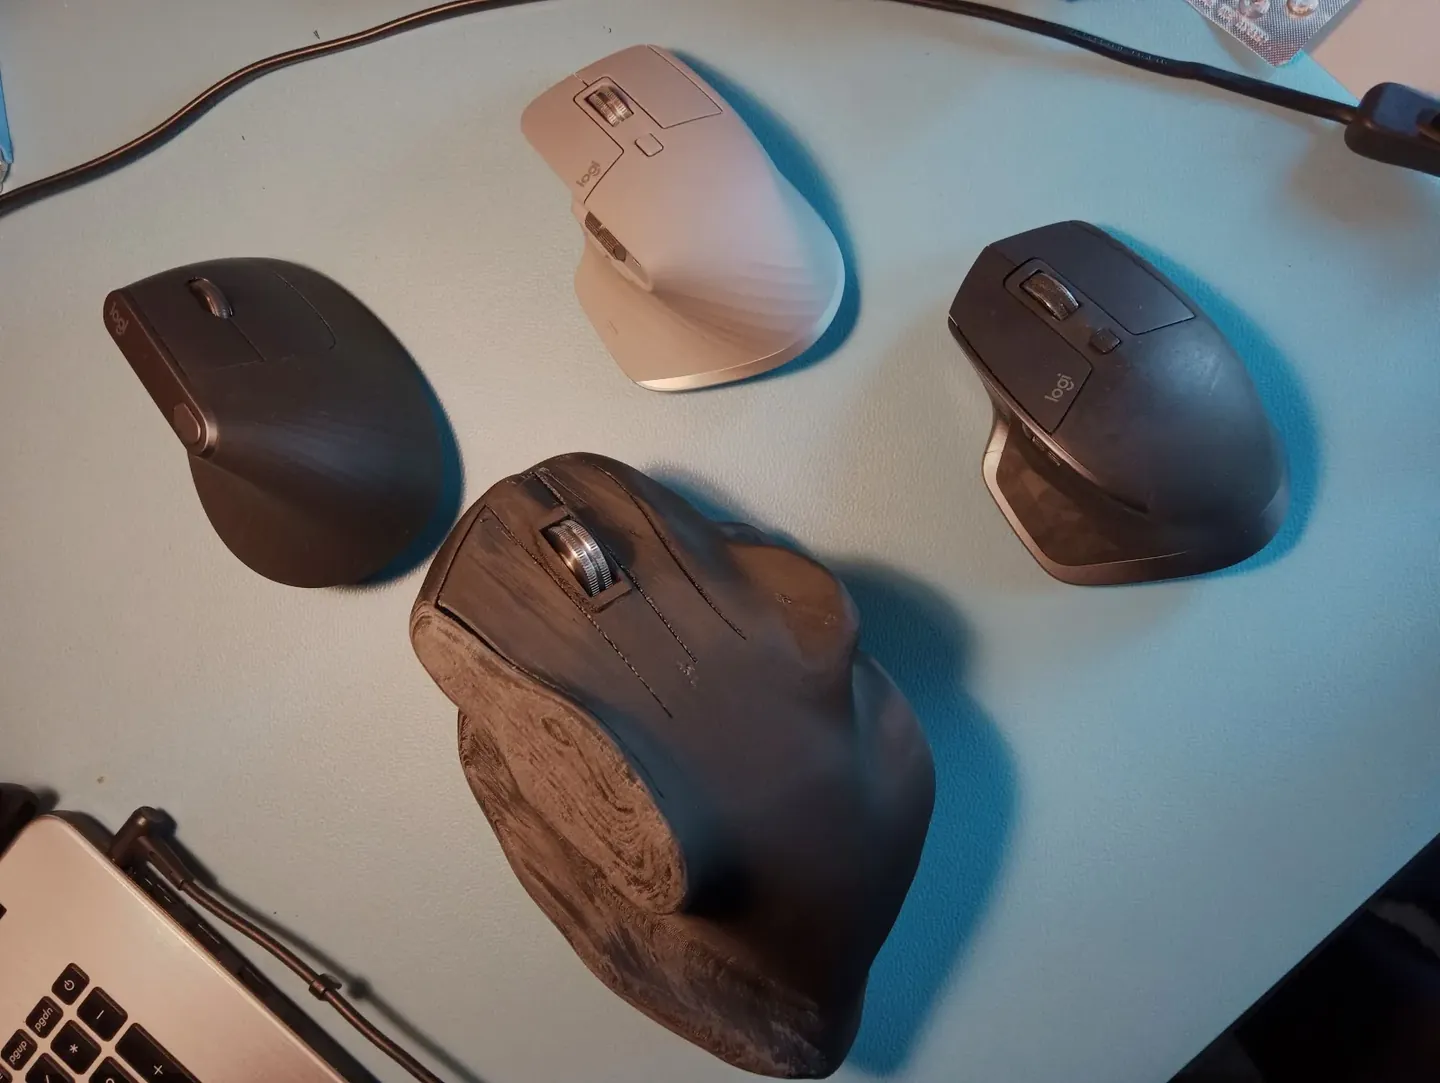
The mouse and the hand that it's tailored to.
The big one is the mouse that's tailored to my hand. The others are Logitech designs for the average hand that you and me most likely don't have.
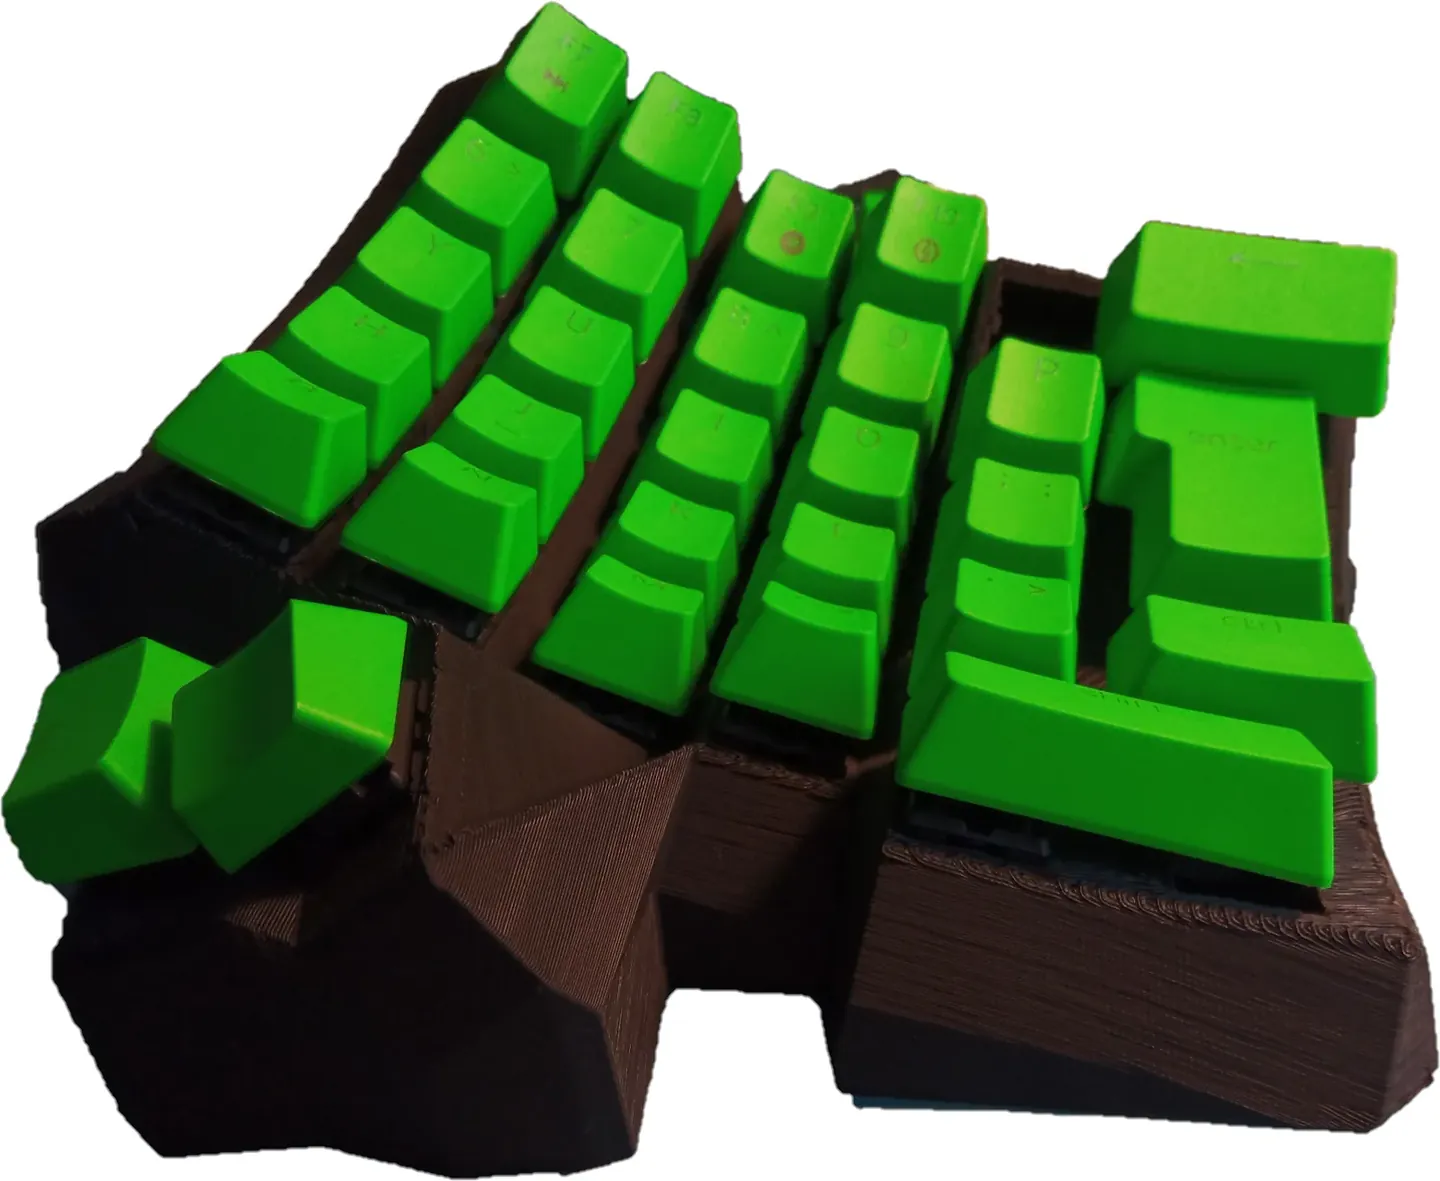
A tailored ergonomic keyboard based on Dactyl Manuform. This photo is of a very rough first try.
Get in touch
Do you like what I do? Want a mouse for your own hand, talk to me, or hire me? Use the form below and I'll get back to you.
I don't have a mailing list yet to keep you updated, but if you send me a message I'll add you to it when I create one in the future. You can also email [email protected].